If you’re reading this, chances are you’ve either stood at the base of Whistler Mountain Bike Park with wide eyes, or you’re dreaming about stepping foot into that bottom corral where mountain bikers queue to load the lift. The park is legendary, but in all its glory, it can be intimidating.
There are a lot of bikes, people and unknowns. This feeling is shared by many but with these helpful steps, you can experience the famous trails that the bike park is known for.
View this post on Instagram
Step One: Get The Right Gear
Before you hit the trails, it’s crucial to have the right gear. You can find everything, from your bike to your goggles at rental shops all over Whistler Village. Your bike should be a downhill or enduro bike, designed to handle the rough terrain and steep descents of the park.
- Protective Gear: Safety should be your top priority. A full-face helmet is a must, as it offers maximum protection. Body armour, including knee and elbow pads, as well as gloves, can help prevent injuries. Goggles or sunglasses will protect your eyes from dust and debris.
- Clothing: Wear breathable, moisture-wicking clothing that allows for a full range of motion. Mountain biking jerseys and shorts are designed specifically for this purpose. Don’t forget sturdy, flat-soled shoes for better pedal grip and control.
Step Two: Get to Know the Lift
Before you even think about those trails, let’s start with the basics: the lift. The Whistler Bike Park is accessed via gondolas and chairlifts, which might seem daunting if you’ve never loaded a bike onto one. Here’s the lowdown:
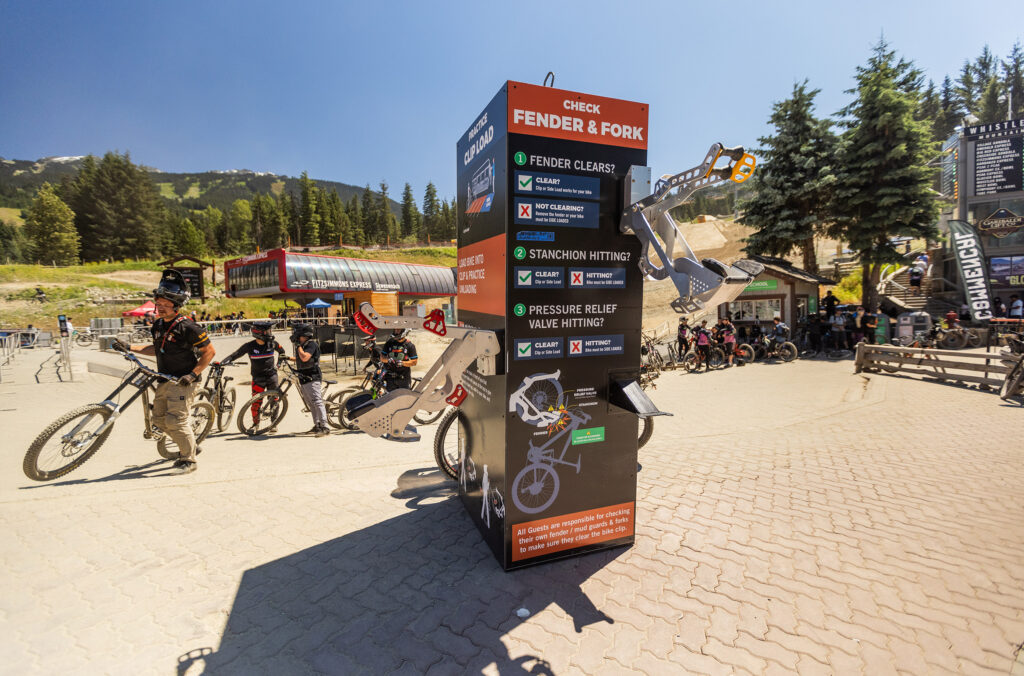
- Familiarize Yourself: Spend a few minutes on the bike loading simulator or The Monolith as it is affectionately known, which is located at the bottom of Fitzsimmons Chair. Here, you can load your bike onto the chairlift, stress-free! It’s a simple process with easy-to-follow instructions, but practicing a couple of times can boost your confidence.
- Ask a Lifty: Don’t hesitate to ask the lift operators for help. These guys and gals are pros at loading bikes and are super friendly. They’re there to make your experience smooth, so ask them to walk you through the process.
Step Three: Progression is Key
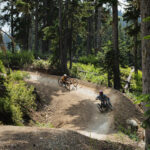
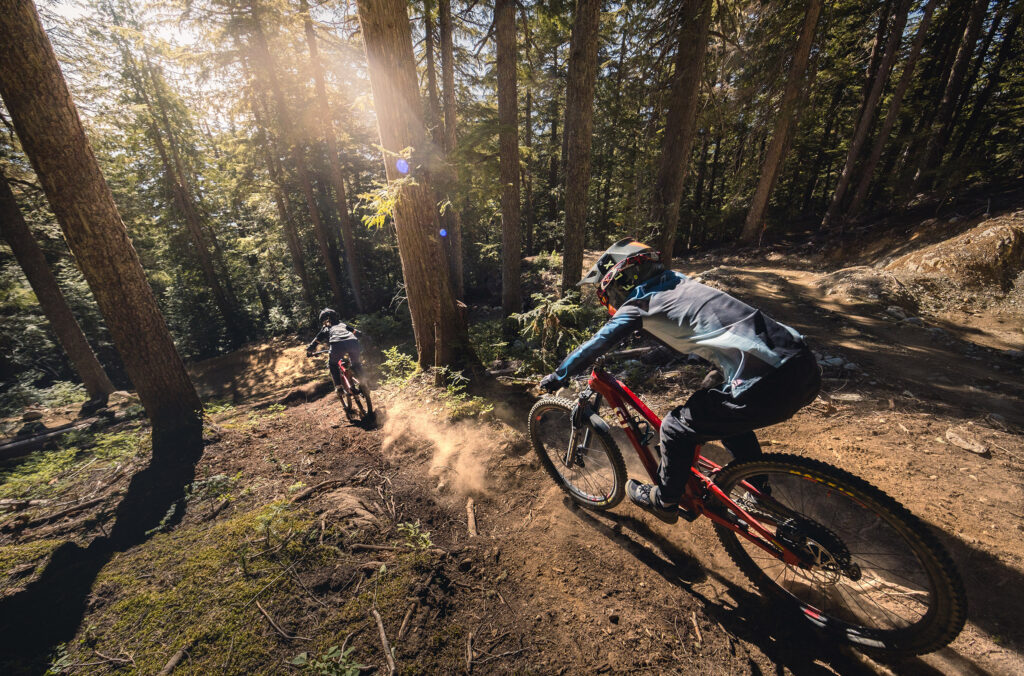
Whistler isn’t just about huge drops and jumps; the trails are designed with progression in mind. This means there are trails for all skill levels, allowing you to gradually build your confidence and abilities before tackling the next level.
- Start Small: Begin with the green and blue trails or a visit to one of the many skill-building zones. These are designed for beginners and will help you get a feel for the terrain and your bike as well as practice skills. Don’t rush to the black diamonds, they’ll be waiting for you when you’re ready.
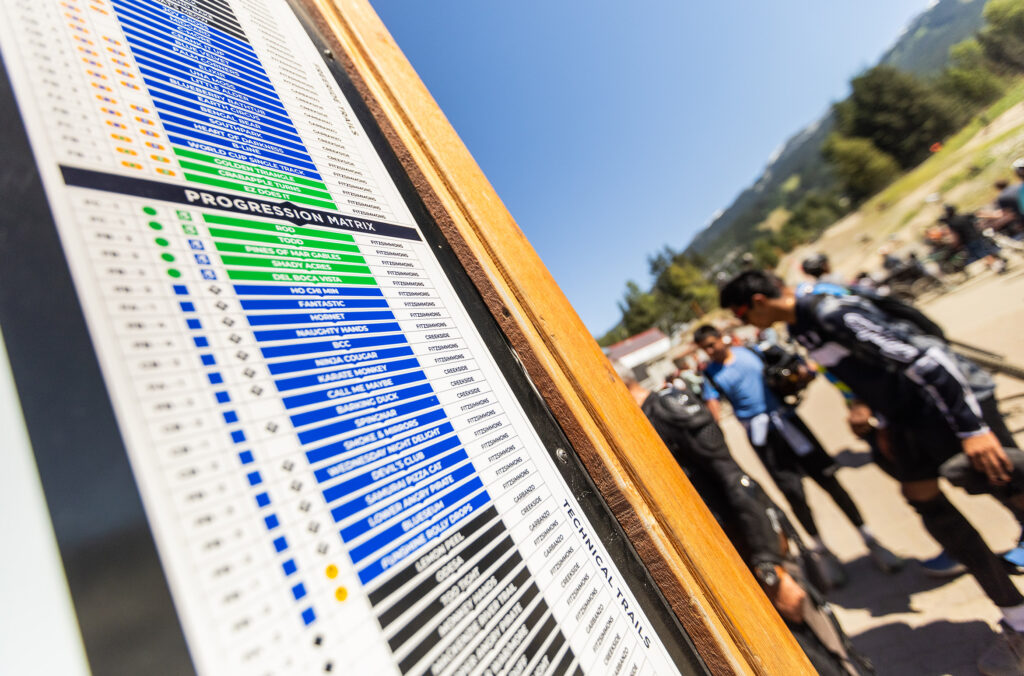
- Follow Progression Trails: The park is laid out in a way that encourages skill development. Follow the progression matrix designed to help you gradually take on more challenges. These signs are found in various places within the park and online. Trails like “B-Line” and “Crank It Up” are fantastic for getting the flow and feel of the park without the high-stakes pressure of “A-Line” and “Dirt Merchant”. Don’t forget to pre-ride, re-ride and then free ride. This means doing a lap first at a slow pace, looking at the features, then re-riding it once through, and finally, putting it all together at a safe pace!
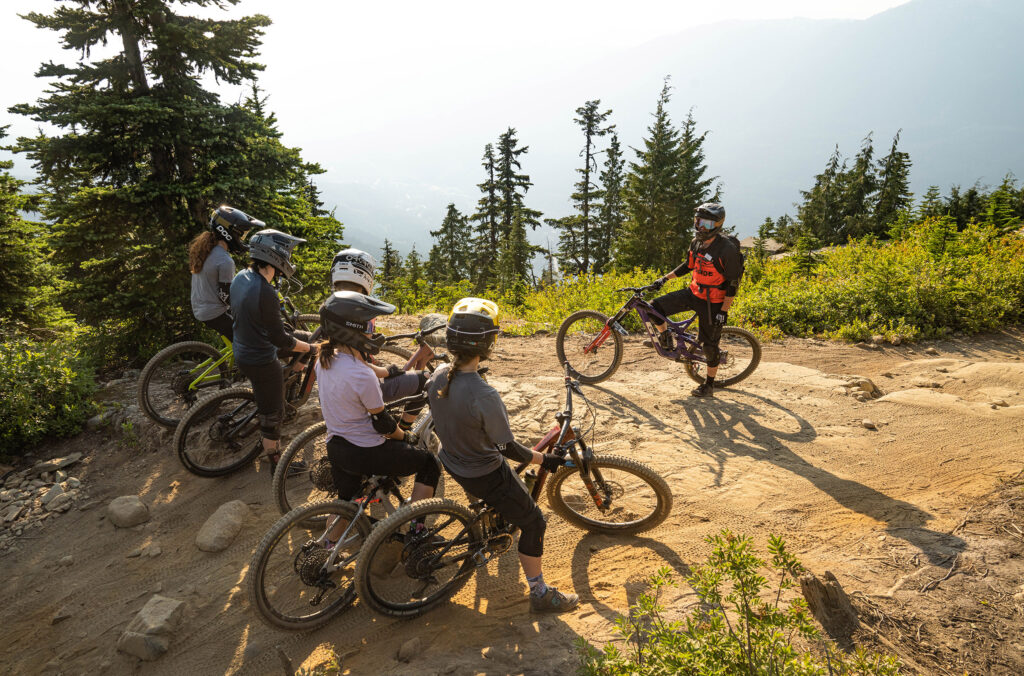
- Book a lesson: The park offers bike park lessons in both private and group settings. These are a great way to learn, meet other riders and get a structured approach to tackling the park. What’s more, lessons get lift line priority which is perfect for a busy weekend! Whether it’s a beginner’s class or an advanced session, there’s an opportunity to grow your mountain bike skills. Plus, learning in a group can ease the nerves as you share the experience with others.
Step Four: Join the Whistler Bike Park Community
Whistler is known for its vibrant biking community. Tapping into this can be one of the best ways to overcome intimidation and make your experience more enjoyable.
- Women’s Nights, Men’s Nights and Events: Whistler hosts regular Women’s Nights and Men’s Nights where the trails are filled with similarly skilled people shredding together. These nights are all about camaraderie, support and fun. They are designed to help people get into the park in a non-intimidating way. These group sessions can be incredibly empowering and it’s a fantastic way to make new friends or riding partners.
Step Five: Embrace the Stoke and Keep Learning
One of the most addictive parts of mountain biking is that it’s a journey of continuous learning. Every ride teaches you something new and every trail offers a unique challenge.
- Set Personal Goals: Set small, achievable goals for each ride. It could be as simple as trying a new trail, working on a specific skill, or just feeling more comfortable on the lift.
- Stay Curious: Watch videos, read articles and talk to other riders. There’s a wealth of knowledge out there and the more you learn, the more confident you’ll become. Don’t be afraid to ask questions or seek advice from those with more experience.
- Keep It Fun: Remember why you’re here – to have fun! Don’t get too caught up in the pressure to progress quickly or compare yourself to others. Everyone’s journey is different and the most important thing is that you’re safely enjoying the ride.
Whistler Mountain Bike Park can be intimidating, but it’s also one of the most rewarding places to ride in the world. By taking it step by step, embracing the community and focusing on progression, you’ll find yourself not just navigating the park, but thriving in it.
So, gear up, ask those questions, join those groups and most importantly, have a blast. See you on the mountain!
INSIDER TIP: Take a look at our Whistler Bike Park 101 and Etiquette Tips to get you ready to tackle one of the best mountain bike parks in the world.
Spring offers great value with savings of up to 25% on lodging. Stretch your stay into midweek for even more savings and a quieter village. For every third night you book between March 1 - April 30, 2025, receive a free $75 CAD Whistler Après Voucher.
For summer, book ahead and save up to 30% on lodging. Plus, you'll receive a free $150 CAD Activity Voucher on stays of 3 or more nights.
Insider Tip: BC or Washington resident? Sign up for Whistler Rewards to access additional savings and exclusive perks.